Our usual Spring season opening of April 1st. is postponed due to the Covid-19 virus. In solidarity to slow the virus spread and protect our health care workers and vulnerable populations, we will be postponing all farm stays, horseback riding, soap making workshops and field trips. We will still have handmade milk soaps for sale. We hope that everyone is staying healthy and keeping spirits up.
|
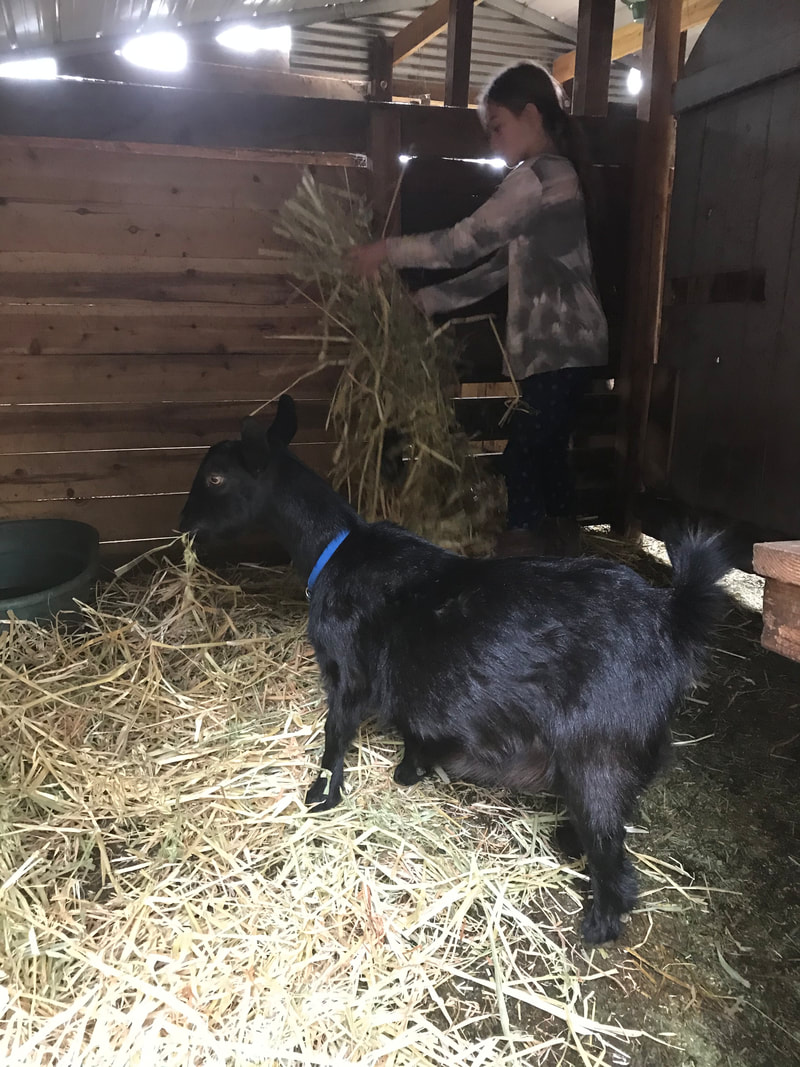
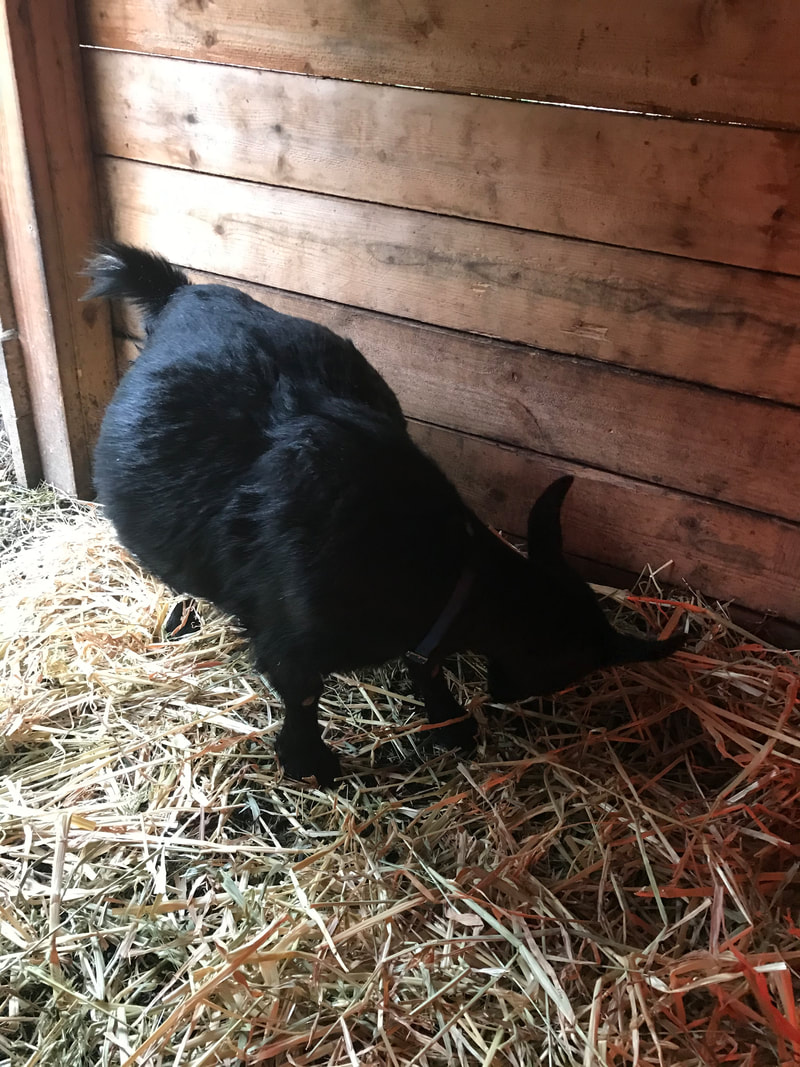
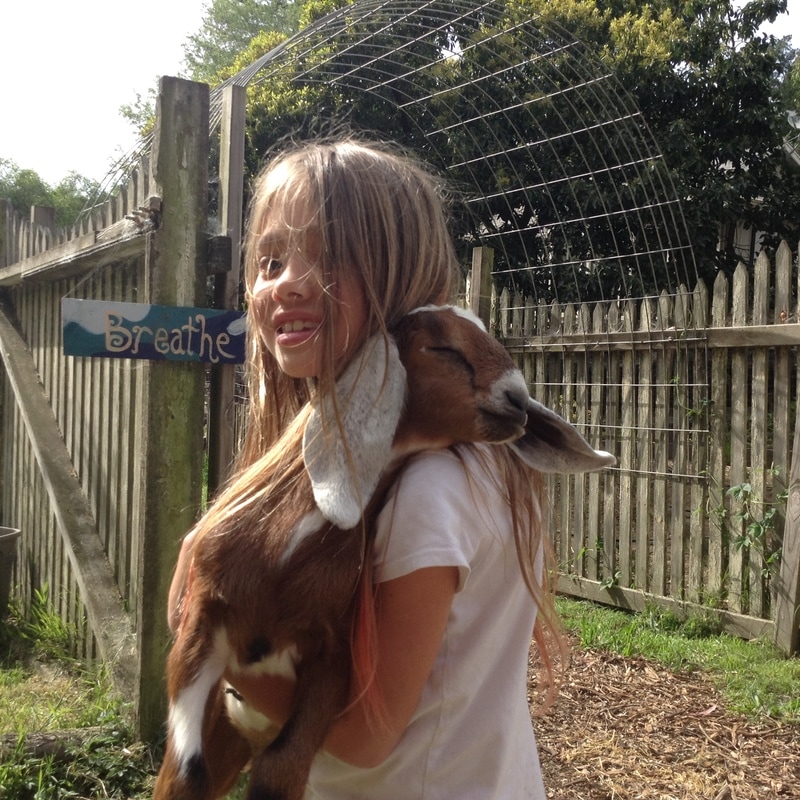
Chamomile is new to our farm. She is a breed called a Kinder. They originate from Nubian and pygmy cross. She is expecting twins (at least) per ultrasound. She is due any day. Her udders are full and she is looking ready.
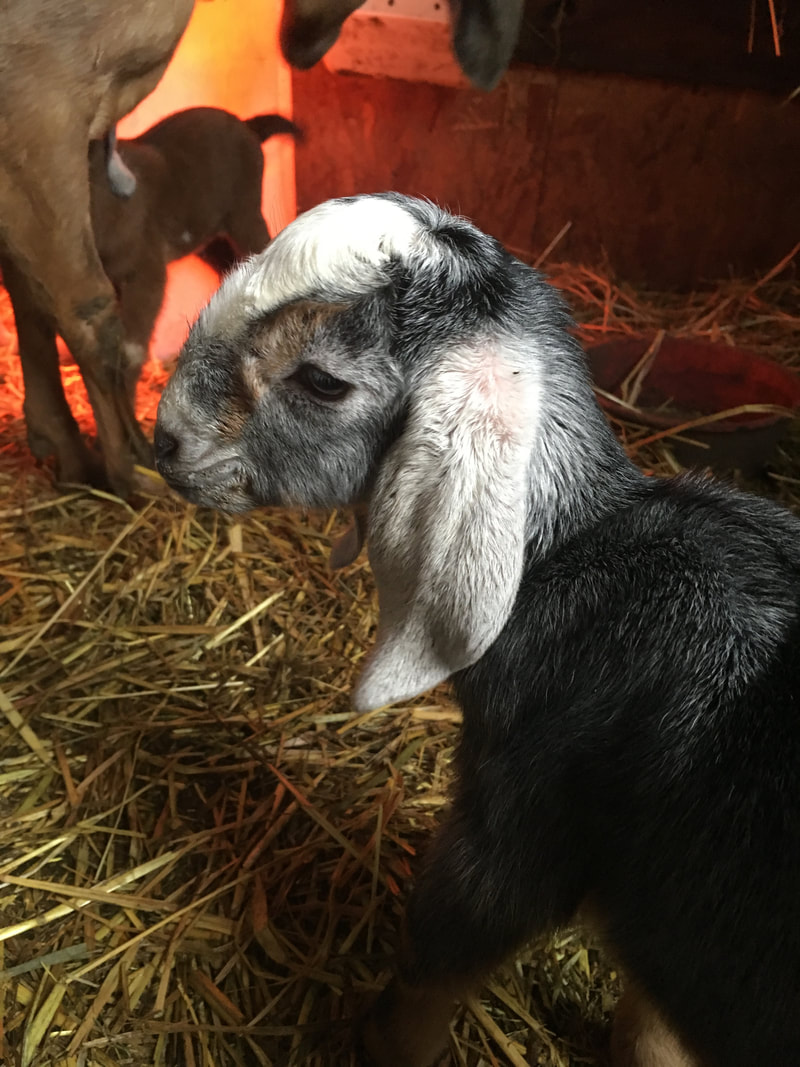
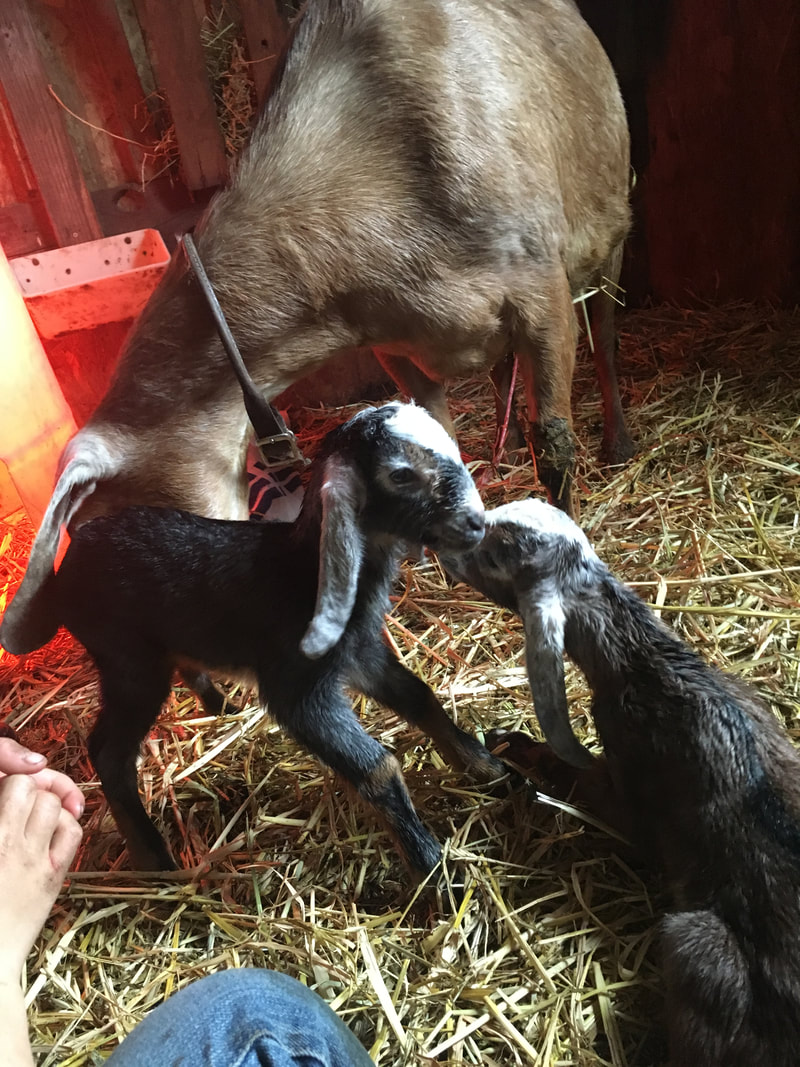
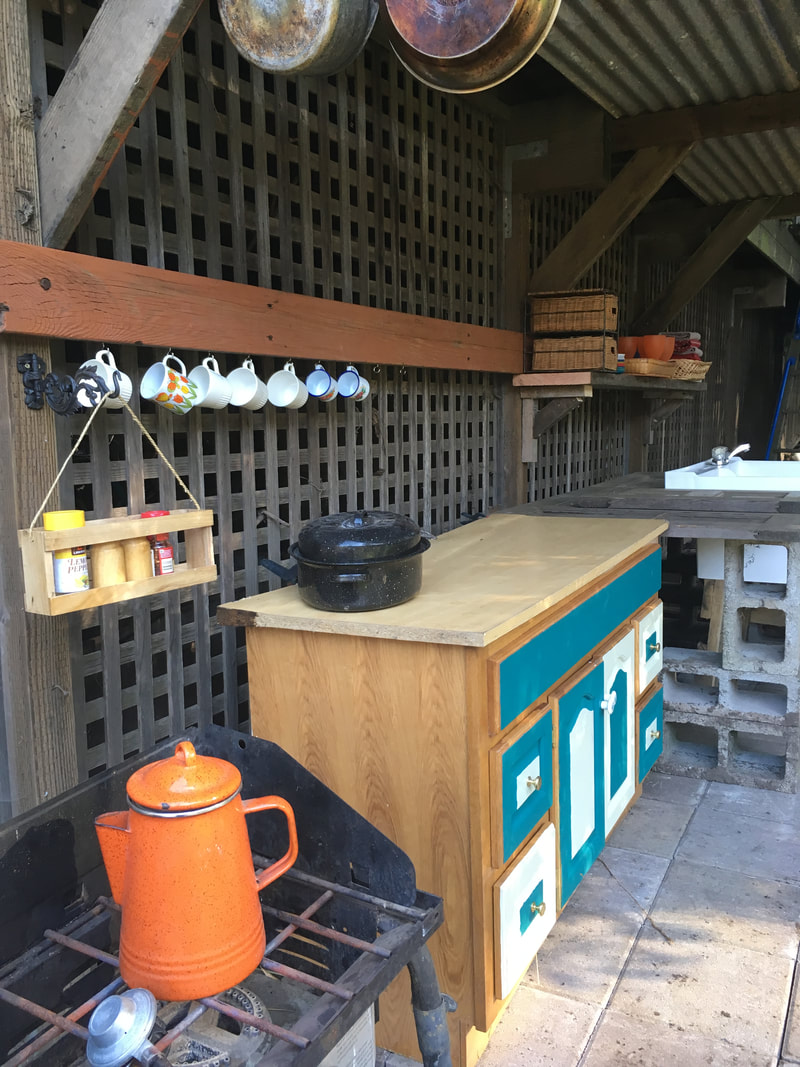
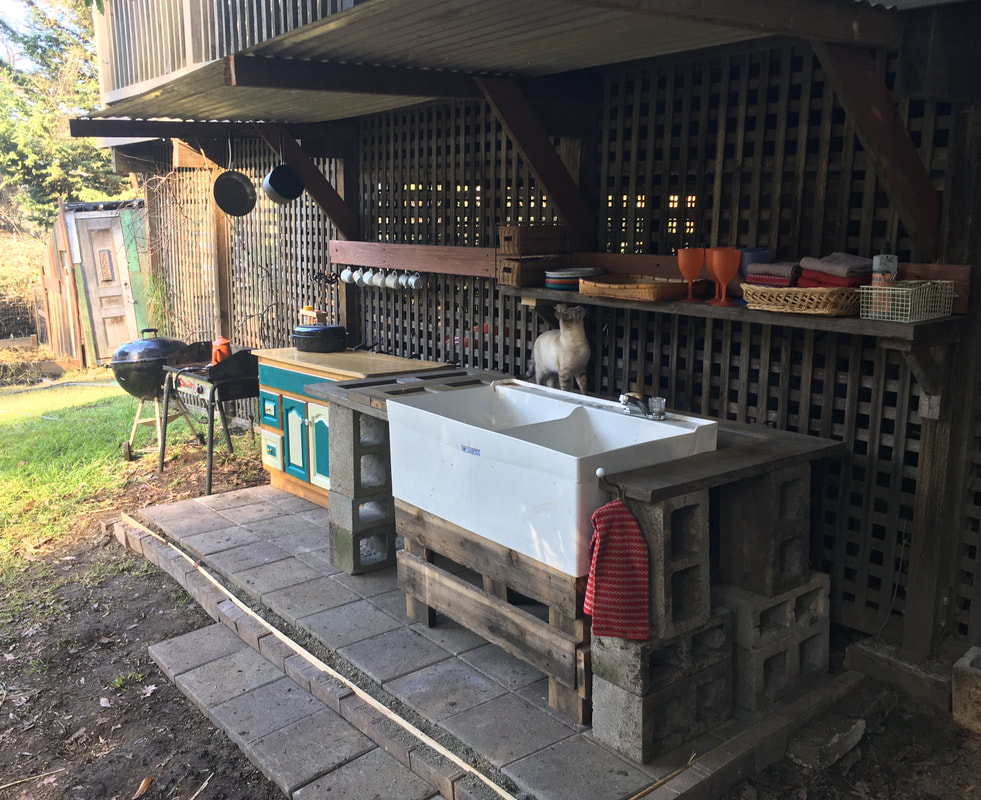
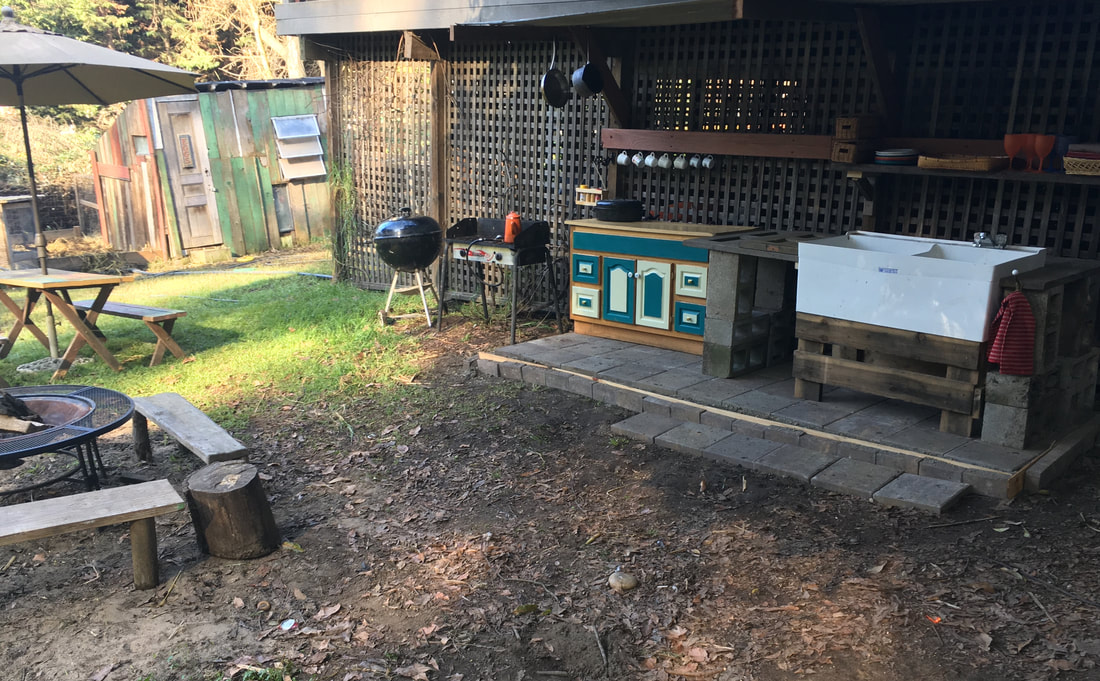
Abby had triplets yesterday March 19, 2019 at 4:50 pm. She let 6 (human) kids watch the birth. All three came out without trouble in the ideal "two feet and a nose" position about 5 minutes apart. They are all very close in size too, often times when Nubians have triplets one can be much smaller (runt). She had two doelings (2 girls) and a buckling (boy). One of the girls is a black roan color with tan legs (agouti) this is a new color for us! Kidding season is so much fun. We still need to name them, so feel free to comment on this blog and give us any name ideas. More pictures to come and we hope to see you out on the farm for goat yoga with these three beauties. Our other two momma goats, Marble and Bella, are due in May! New! Handmade Lip balms and Calendula Salves Check out our new handmade salves and lip balms. Made with all organic ingredients! It's winter and with lots of rainy days, we decided to use that down-time and make some new good stuff to offer. Visit our Soap Stand page for more info and to get some! 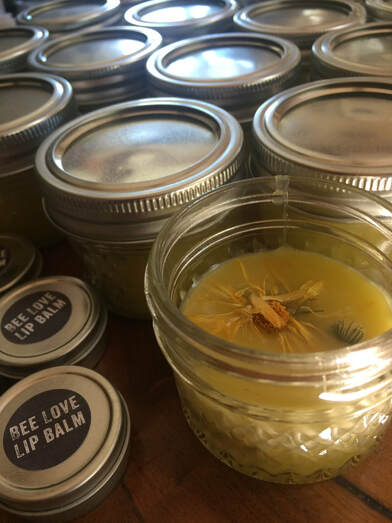 We finished our new fully-stocked outdoor camp kitchen! Now guests will not have to bring any cooking stuff.. whoo hoo!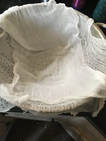 Been milking my goats for five years now and I always appreciate all the help on the internet.. with goat care, kidding, milking, soap and cheese-making.. I felt like giving back too. Sharing what worked for me! Today I made roasted garlic, and thyme chevre. I have lots of thyme in the garden and that is my absolute favorite herb with cheese. SOOO EASY! At the beginning of the season I go online to www.cheesemaking.com and order a bunch of packets of Chevre culture and a pack of new butter muslin. How I do it.. First collect a gallon of goat milk. My three goats (2 nubians and a nigerian dwarf) all gave birth in March, so right now they are at max production and I have a lot of "extra" milk.. meaning more than my family is drinking. I make sure my cheese milk is no older than 3 days. Supplies needed: 1 gallon of fresh unpasteurized goat milk 2 Stainless soup pots pot lid Collander butter muslin cloth cheap cheese cloth (optional) candy thermometer or digital thermometer for liquid chevre culture salt, herbs, flavors of your choice Procedure: 1. In a stainless steel soup pot, heat the milk to 86 degrees F. Use a thermometer.. I usually heat it to about 84 and turn off the heat and it rises up to 86. If it is hotter than 86..wait! If the temp is too hot it will kill the culture. 2. add culture by sprinkling it into the milk.. DONT STIR YET! let it sit for 2 whole minutes to dissolve. 3. Stir the culture using a stainless steel spoon. stir gently. 4. Cover the pot and let the milk sit at 72 degrees F for 11 hours. Some packages say 12 hours.. after several batches I got the timing perfect for great creamy cheese and 11 hours seemed to be good timing. How do you keep the milk at 72 degrees? Here is what I do: Leave the pot on the back of the stove, put the lid on it and wrap a towel around the pot. If it is Summer and the inside of your house is over 70 degrees then put the pot on a dark counter area away from the stove or toaster or any heat source. I don't check my temp during this resting period.. I just let it sit. 5. in another soup pot, place the collander in the pot (hopefully you have a collander that rests on the sides and doesn't sit on the bottom. If you don't, then just do this in the sink. 6. line the collander with the cheese cloth. I use a large piece of cheaper cheesecloth down first and then a smaller piece of butter muslin on top.. the cheese has to drain through the butter muslin, so you do not loose too much moisture. 7. pour the cheese into the collander to drain initial bulk of moisture. 8. Gather up the sides of the cheesecloth and pull them all together and tie a loose knot. Tie a second knot around your sink faucet or some other area where the cheese can hang to continue draining. 9. Let this cheese hang for 3 hours or until it reaches the desired creaminess. 3 hours is the sweet spot for our family. 10. Wash your hands and mix up your cheese! You can add anything you want to this creamy cheese. Today I made 1/2 with roasted garlic and salt.. the other 1/2 I used salt and fresh thyme from the garden.. Just mix in the flavors and keep tasting as you go until it tastes perfect. I then roll them into logs and store in container in the fridge with a tight lid. 11. ENJOY! 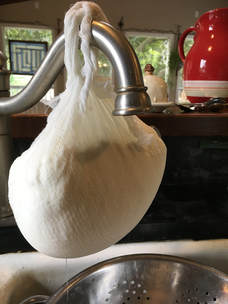 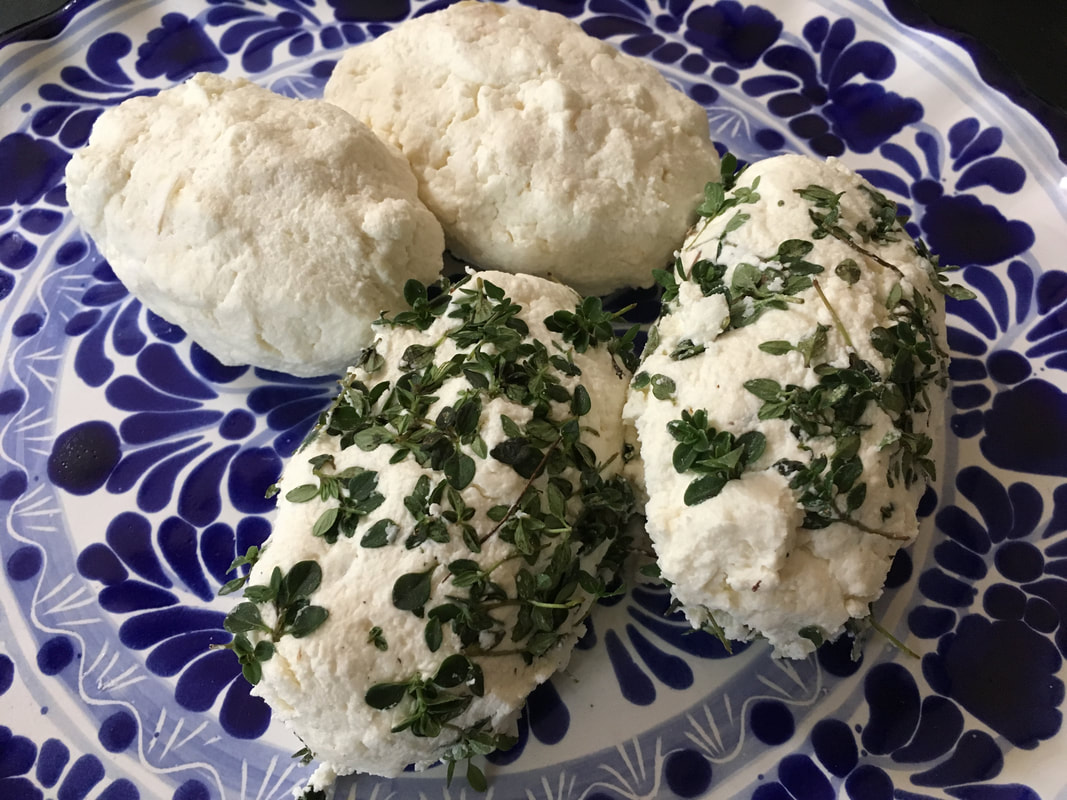 It's heading into the cold months and having some powerful home crafted Elderberry cough syrup in your fridge is always great to have on hand. I found a neighbor who grows organic Elderberries and bought 3 pounds from her, I was able to trade some soap for some cuttings too. Elderberries, aside from having a higher antioxidant flavanoid content of blueberries, they also have potent anti-viral properties making them good to have around. Important note about Elderberry: DO NOT EAT THEM UNCOOKED OR UNRIPE! ONLY USE BERRIES AND FLOWERS! NO LEAVES AND STEMS! Uncooked Elderberries are toxic, not hugely.. but you have good chance of some nausea and vomiting if consumed raw! To read more about Elderberries, click here. 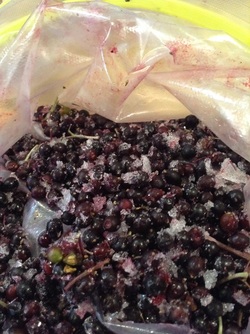 Ingredients: 2 quarts of fresh or frozen elderberries. rinsed without leaves and stems (don't worry about tiny ones) Honey - try to find local honey as some believe local honey to be immune enhancing for your specific area. 2 TBS Fresh ginger peeled and grated You can add other herbs to this syrup as well. I don't have any Echinacea in my garden this year, but hoping to add it next year. Some other herbs and spices that can be added: cayenne pepper, ground cloves, etc. 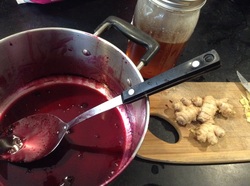 Preparation: It's so easy! STEP 1 Place all the berries into a sauce pan. Add 1/4 cup of water (seems like a tiny amount, but that is all you need). Cook berries over low-med heat. Simmer until all the berries are soft and have released their juices. Step 2 Strain the berries RESERVING THE LIQUID! I use a cheesecloth and pour the hot berries into the cloth letting it hang over the sauce pan and drain. when it is cool enough to touch, squeeze the remaining liquid from the berries in the cheesecloth into the pan. Compost the de-juiced berries. Your strained elderberry juice will be in your saucepan now. Step 3 Add the grated ginger. Step 4 Heat mixture, stirring almost constantly. Bring to a simmer cook and stir until mixture is reduced to about 1/2 the amount. **Step 5 Remember- you are making medicine! As you cook and stir imagine the healing properties of the elderberries and the ginger. Give thanks and honor to these plants and to Mother Earth for the gifts. Imagine the healing that will be bestowed on those who will drink this syrup. This important step infuses your intention into the syrup and helps the medicine-maker to stay connected and grateful.*** Step 6 Once the mixture is reduced to 1/2, measure the amount (I pour it into a glass measuring bowl) Take note of the amount of liquid you have and then return it to the saucepan. Step 7 Measure the same amount of honey as you have berry mixture and add honey into the saucepan with the berry mixture.. Example: if you have 2 cups of reduced berry juice, then you will be measuring out 2 cups of honey to add to it. Step 8 Stir in the honey until it incorporates into the berry reduction and becomes a syrup. As you are stirring, make sure to give thanks and honor to the bees for this sweet healing gift and again imagine the effectiveness of the medicine you are making and do this with love. Once the honey is all mixed in, your Elderberry Cough Syrup is done! 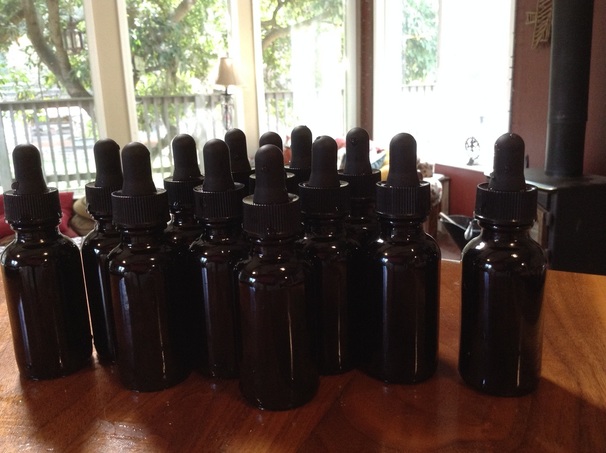 I bottled my syrup into these 4oz bottles with droppers. I got them from Mountain Rose Herbs. The syrup will last in the refrigerator for 12 weeks.
The recommended dosage is 1-2 tablespoons 2-3 times per day when fighting off cold or flu. It is definitely easy medicine and tastes good dripped on pancakes too! You can't do that with your average pharmaceutical chemical cough-syrup! NEW soaps! Place holiday orders today!
Check out the SOAP STAND for details about the three new soaps we are offering! Soap is sold online by the batch which is 15 bars for $60. A batch lasts my family about 3-4 months as our everyday showering soap. If you are interested in ordering before Christmas, place your order by October 20, 2016. |
AuthorContributions to this blog may be made by any member of our family at Rusty Hill Farm! We look forward to sharing with you! Archives
March 2020
Categories |


 RSS Feed
